
Building Rc Plane From Scratch
Have you ever watched an RC plane soar through the sky and thought, “I want to build one myself”? The process of creating a radio-controlled (RC) plane from scratch is both challenging and rewarding. It combines creativity, engineering, and hands-on skills. Whether you are a hobbyist, a student, or someone fascinated by flight, building your own RC plane gives you a sense of accomplishment and a deeper understanding of aerodynamics.
This guide will take you step-by-step through the process. You’ll learn how to select materials, design your model, assemble components, and get your plane flying. Along the way, you’ll also discover tips and insights that most beginners miss. Let’s start your journey from a box of parts to your first successful flight.
Understanding Rc Planes: Basics And Types
Before you begin, it’s important to understand what makes an RC plane fly and what types are best for beginners.
RC planes are miniature aircraft controlled remotely by a transmitter. They come in many shapes and sizes, each with its own flight characteristics. Some are slow and stable, perfect for learning. Others are fast and agile, built for advanced pilots.
Main Types Of Rc Planes
- Trainer Planes: Designed for stability and easy control. They usually have a high wing (above the fuselage).
- Sport Planes: Offer more speed and maneuverability. Good for pilots who want to learn new tricks.
- Scale Models: Replicas of real aircraft. These are more complex and often for experienced builders.
- Gliders: Rely on air currents more than motors. Great for learning how to use wind and thermals.
- 3D Aerobatic Planes: Built for stunts and extreme maneuvers. Not recommended for first-time builders.
Choosing The Right Plane For Your First Build
For your first project, a trainer plane is the best choice. They are forgiving, easy to repair, and help you learn the basics of flight control. Once you master trainers, you can move to more advanced designs.
Planning Your Rc Plane Build
A successful RC plane starts with good planning. Rushing into construction without a clear plan often leads to frustration and wasted materials.
Setting Clear Goals
Decide what you want from your plane:
- Do you want long, stable flights?
- Are you interested in speed and tricks?
- Is your main goal learning about design and construction?
Beginners should focus on stability and ease of control. Complex features can come later.
Gathering Information And Inspiration
Spend time on RC forums, YouTube channels, and websites. Study different designs and construction techniques. Look for free plans or blueprints for trainers—many experienced builders share their designs online.
Sketching And Sizing
Draw a simple sketch of your plane. Plan the wingspan (distance from tip to tip), fuselage length, and tail size. For a first plane, a wingspan of 36 to 48 inches is ideal. Bigger planes are more stable, but harder to transport and repair.
Making A Parts List
Before buying anything, list all the parts you’ll need. This avoids extra trips to the hobby store or long waits for online orders.
Essential Components
- Fuselage (main body)
- Wings
- Tail (horizontal and vertical stabilizers)
- Motor
- Electronic speed controller (ESC)
- Propeller
- Radio receiver
- Transmitter (remote control)
- Servos (usually 3–4 for controlling surfaces)
- Battery (LiPo recommended)
- Landing gear (optional for hand-launch planes)
- Control rods and linkages
- Glue, tape, and covering material
Planning ahead saves money and time. It also helps you spot potential issues before they become real problems.

Credit: www.modelaviation.com
Essential Tools And Materials
Building an RC plane requires some basic tools and materials. Quality tools make the process smoother and your plane more reliable.
Tools You’ll Need
- Hobby knife or box cutter (for precise cutting)
- Metal ruler or straightedge
- Cutting mat (protects your work surface)
- Needle-nose pliers
- Small screwdrivers (Phillips and flathead)
- Hot glue gun and glue sticks
- Soldering iron (for wiring, if needed)
- Small clamps or clothespins
- Sandpaper (various grits)
- Drill and small bits (for making holes)
Common Building Materials
| Material | Purpose | Notes |
|---|---|---|
| Balsa wood | Frame, wings, tail | Light and easy to cut |
| Foam board (Depron, EPP, or Dollar Tree foam) | Body, wings, control surfaces | Strong and easy to shape |
| Carbon fiber rods | Reinforcement | Adds strength without weight |
| Plywood | Motor mount, landing gear support | Use thin sheets |
| Plastic film or tape | Covering wings and fuselage | Lightweight, for smooth surfaces |
Glue And Adhesives
Not all glues are equal. Use hot glue for quick, strong bonds in foam. CA glue (cyanoacrylate) is great for balsa wood. Epoxy is best for very strong joints (like the motor mount).
Electronics
Buy your electronics from a reputable supplier. Cheap parts may save money, but often fail early or perform poorly.
Designing Your Rc Plane
Design is the heart of your project. A good design balances weight, strength, and flight stability.
Key Measurements
- Wingspan: 36–48 inches (beginner-friendly)
- Wing chord (front to back): 7–10 inches
- Fuselage length: About 75% of wingspan
- Tail area: 20–25% of main wing area
Determining Center Of Gravity (cg)
The CG is the balance point of your plane. For most trainers, it should be about 25–33% back from the leading edge of the wing. Mark this on your design. A plane with the wrong CG is hard to fly.
Control Surfaces
Beginner planes usually have three main control surfaces:
- Ailerons: Control roll (side-to-side tilt)
- Elevator: Controls pitch (nose up/down)
- Rudder: Controls yaw (left/right turn)
Some trainers skip ailerons for simplicity, using only rudder and elevator.
Aerodynamic Profile
Most trainers use a flat-bottom wing. This gives stability and gentle lift. Avoid thin, symmetrical wings for your first build—they are harder to fly.
Non-obvious Insight
Many beginners overlook the importance of tail moment arm—the distance from the wing to the tail. A longer arm gives smoother, more stable flight. Don’t make your tail too close to the wing.

Credit: www.youtube.com
Building The Airframe
With a plan and materials ready, it’s time to build.
Cutting Out The Parts
Use your plan as a template. Tape it to your material and cut carefully with a sharp knife. Keep your cuts straight and smooth. Sand the edges lightly for a clean finish.
Assembling The Fuselage
- Start by gluing the sides to the bottom piece.
- Add formers (internal supports) for strength.
- Install the motor mount at the front.
- Reinforce any joints that will carry stress, especially around the landing gear and wing mount.
Building The Wings
- If using balsa, glue ribs to a main spar (long stick) and attach the leading and trailing edges.
- For foam wings, cut the main shape, then reinforce with a carbon fiber rod or wooden spar.
- Install ailerons if your design has them. Cut them out, then attach with tape or hinges.
Making The Tail
- Cut horizontal and vertical stabilizers.
- Attach them to the rear of the fuselage, making sure they are square (at 90° angles).
- Reinforce with small wood or carbon rods if needed.
Dry Fitting
Before final gluing, assemble all parts loosely. Check for proper alignment. This step prevents major mistakes later.
Covering
- Use lightweight plastic film or colored tape to cover wings and fuselage.
- This adds strength and gives your plane a finished look.
- Don’t use heavy materials—extra weight will hurt performance.
Installing Electronics And Control Systems
The electronics bring your plane to life. Take time with this step to avoid crashes and electrical problems.
Choosing The Right Motor
Match your motor to your plane’s size and weight. For a 36–48 inch wingspan trainer, a brushless outrunner motor with around 1000–1200 kV (rotations per volt) is a good starting point. Too much power can make your plane hard to control.
Electronic Speed Controller (esc)
The ESC connects your motor to the battery and receiver. Make sure the ESC is rated for your motor’s maximum current. For example, a 20A ESC is common for beginner planes.
Battery
Use a 3S LiPo battery (11.1 volts) with a capacity of 1300–2200mAh. Higher capacity gives longer flights but adds weight.
Receiver And Transmitter
A 2.4 GHz radio system with at least 4 channels is standard. Each channel controls one action (throttle, aileron, elevator, rudder).
Servos
Small 9g servos are enough for most trainers. You’ll need:
- 1 for elevator
- 1 for rudder (or two for ailerons if used)
Placing Components
Distribute weight evenly. Put the battery close to the CG mark you made earlier. This makes balancing easier.
Wiring
- Solder or plug connectors as needed.
- Keep wires tidy and away from moving parts.
- Secure everything with zip ties or double-sided tape.
Connecting Control Surfaces
- Use pushrods (thin metal or carbon rods) to connect servos to ailerons, elevator, and rudder.
- Adjust the length so surfaces are centered when the transmitter sticks are neutral.
Non-obvious Insight
Test all electronics before gluing them in. Many beginners skip this and discover problems only after the plane is fully built. A “bench test” with everything connected can save hours of troubleshooting.
Balancing And Pre-flight Checks
Even the best design won’t fly if it’s not balanced or checked.
Balancing The Plane
- Hold the plane by the CG marks under the wing.
- If the nose dips, move the battery back. If the tail drops, move it forward.
- Use small weights if needed, but keep added weight to a minimum.
Control Surface Direction
Turn on your transmitter and move each stick:
- Elevator: Pull back, elevator goes up.
- Rudder: Push right, rudder goes right.
- Ailerons: Move stick right, right aileron goes up, left goes down.
If any move the wrong way, reverse the direction on your transmitter.
Range Test
Walk 30–50 meters from your plane with the transmitter. Move controls and make sure everything responds. Signal loss can cause crashes.
Safety Checks
- Make sure propeller is tight and motor mount is secure.
- Check all screws and glue joints.
- Inspect for loose wires or parts.
First Flight: Getting Airborne
The first flight is exciting but can be nerve-wracking. Preparation is key.
Choosing A Flying Site
Pick a large, open area—like a park or sports field. Avoid trees, buildings, and crowds. Early morning is best: less wind and fewer people.
Weather Conditions
Don’t fly in strong wind, rain, or extreme heat. Calm or light wind (under 7 mph) is ideal for first flights.
Launching
- Place your plane on the ground, facing into the wind.
- If hand-launching, hold the fuselage near the CG.
- Throttle up to 75–100%, and give a gentle, straight toss.
First Flight Tips
- Use small control movements. Over-correcting can cause crashes.
- Keep the plane close and at a safe altitude.
- Fly in gentle circles and practice landing approaches.
Landing
- Reduce throttle as you approach.
- Keep the wings level.
- Flare (pull up slightly) just before touch down.
Common First Flight Problems
- Plane won’t climb: Check CG, battery, or propeller direction.
- Turns too sharply: Reduce control surface movement (use transmitter settings).
- Crashes on landing: Approach too fast, or not enough flare.
Don’t get discouraged by minor crashes. Most parts can be repaired with glue and tape.
Repairs And Upgrades
Building from scratch means you’ll probably break and fix things. This is normal and part of the learning process.
Quick Repairs
- Broken wing: Glue with CA or hot glue. Add a wood or carbon spar for strength.
- Cracked fuselage: Reinforce with a small plywood plate and glue.
- Damaged control surface: Cut a new one from foam or balsa, tape in place.
When To Replace Parts
- If a part is bent or cracked beyond repair, replace it.
- Always check propellers and motor mounts after a hard crash.
Upgrading Electronics
As you get more confident, you can install a better motor, larger battery, or more advanced radio system. Upgrades give your plane new life and new abilities.
Comparing Ready-to-fly (rtf) Kits Vs. Scratch Builds
You might wonder how building from scratch compares to buying a ready-to-fly kit. Here’s a quick comparison:
| Aspect | Scratch Build | RTF Kit |
|---|---|---|
| Cost | Lower, if using basic materials | Higher, but includes all parts |
| Learning | High—build and troubleshoot everything | Low—assembly only |
| Customization | Unlimited | Limited to kit design |
| Repairability | Easy—know every part | Often harder—unique parts |
| Time Required | Several days to weeks | 1–2 hours |
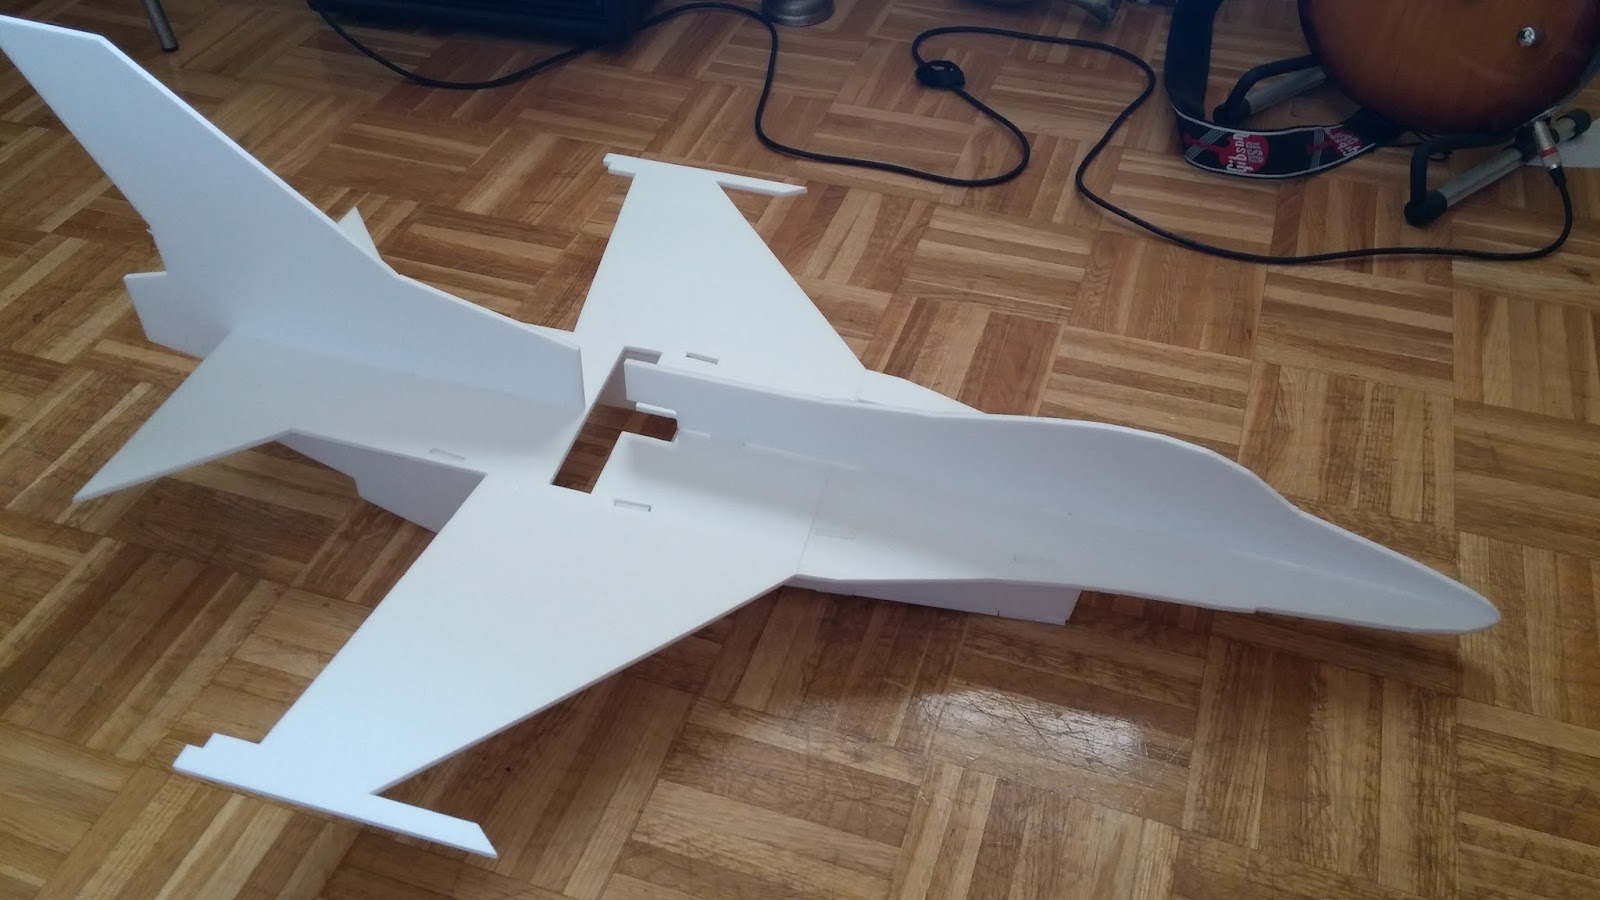
Credit: www.flitetest.com
Advancing Your Skills: Tips For Better Builds
Once you’ve flown your first scratch-built RC plane, you’ll want to improve and try new designs.
Keep A Build Journal
Record your designs, parts used, and flight notes. This helps you learn from mistakes and repeat successes.
Try Different Materials
Experiment with EPP foam for more durability, or lightweight carbon fiber for strength. Each material affects flight performance.
Explore New Designs
Try a delta wing or flying wing for unique flight styles. Build a glider for long, silent flights. Each project teaches new skills.
Non-obvious Insight
Many builders overlook weight distribution in the wings. Heavier tips can make the plane hard to roll and less stable. Always keep wingtips light.
Join The Rc Community
Connect with others at local clubs or online forums. Share your builds, ask questions, and get feedback. The community is full of experienced builders eager to help newcomers.
Safety And Legal Considerations
Flying RC planes is fun, but comes with responsibilities.
Safety Tips
- Never fly near people, cars, or animals.
- Stay away from airports or airfields.
- Always check for damage before each flight.
Understanding Regulations
Most countries have rules for model aircraft. In the US, the FAA requires registration for planes over 0.55 lbs (250g). Stay below 400 feet and keep your plane in sight.
For the latest rules, check the FAA website.
Budgeting Your Build
How much does it cost to build an RC plane from scratch? Here’s a rough breakdown:
| Item | Low Estimate | High Estimate |
|---|---|---|
| Materials (wood/foam) | $15 | $40 |
| Electronics (motor, ESC, servos, battery, receiver) | $60 | $120 |
| Transmitter (remote) | $40 | $100 |
| Glue, tape, hardware | $10 | $25 |
| Total | $125 | $285 |
You can start small and upgrade as your skills grow.
Frequently Asked Questions
What Is The Best Material For Building An Rc Plane?
Foam board (like Depron or EPP) is the most popular for beginners. It’s light, easy to cut, and cheap. Balsa wood is also common for classic builds. Each material has trade-offs: foam is easy to repair, balsa gives a more “real” airplane feel but is more fragile.
How Long Does It Take To Build An Rc Plane From Scratch?
For a simple trainer, expect to spend 10–20 hours over several days. More complex designs can take weeks. Don’t rush; careful work leads to better flying and fewer repairs.
Can I Use Recycled Materials To Build An Rc Plane?
Yes! Many hobbyists use pizza boxes, packing foam, and scrap plastic for parts. Just make sure the material is light and strong enough for flight. Electronics and hardware should be purpose-built for RC planes for safety.
What Is The Most Common Mistake Beginners Make?
The biggest mistake is incorrect center of gravity. Planes that are nose- or tail-heavy are very hard to control. Always balance your plane before flying. Another common error is using too much glue, which adds unnecessary weight.
Do I Need Special Skills To Build And Fly An Rc Plane?
Basic skills like cutting, gluing, and simple soldering are enough to start. Flying takes practice—use a simulator or get help from experienced pilots if possible. With patience and careful work, anyone can succeed.
Building an RC plane from scratch is one of the most satisfying projects in model aviation. You’ll learn about design, electronics, aerodynamics, and problem-solving. Each flight teaches you something new, and every crash is a chance to improve. Start simple, stay patient, and enjoy the process.
Soon, you’ll see your creation take to the sky—powered by your own hands and imagination.


