Yes, you can attach a drone to a styro foam plane to make it fly, but the success of this project depends entirely on the weight-to-thrust ratio of your setup. If the combined weight of the styrofoam frame and the drone motors exceeds the total lift capacity of your rotors, the craft won’t leave the ground. You should check the maximum takeoff weight specifications provided by your drone manufacturer before you begin construction.
Can you attach a drone to foam
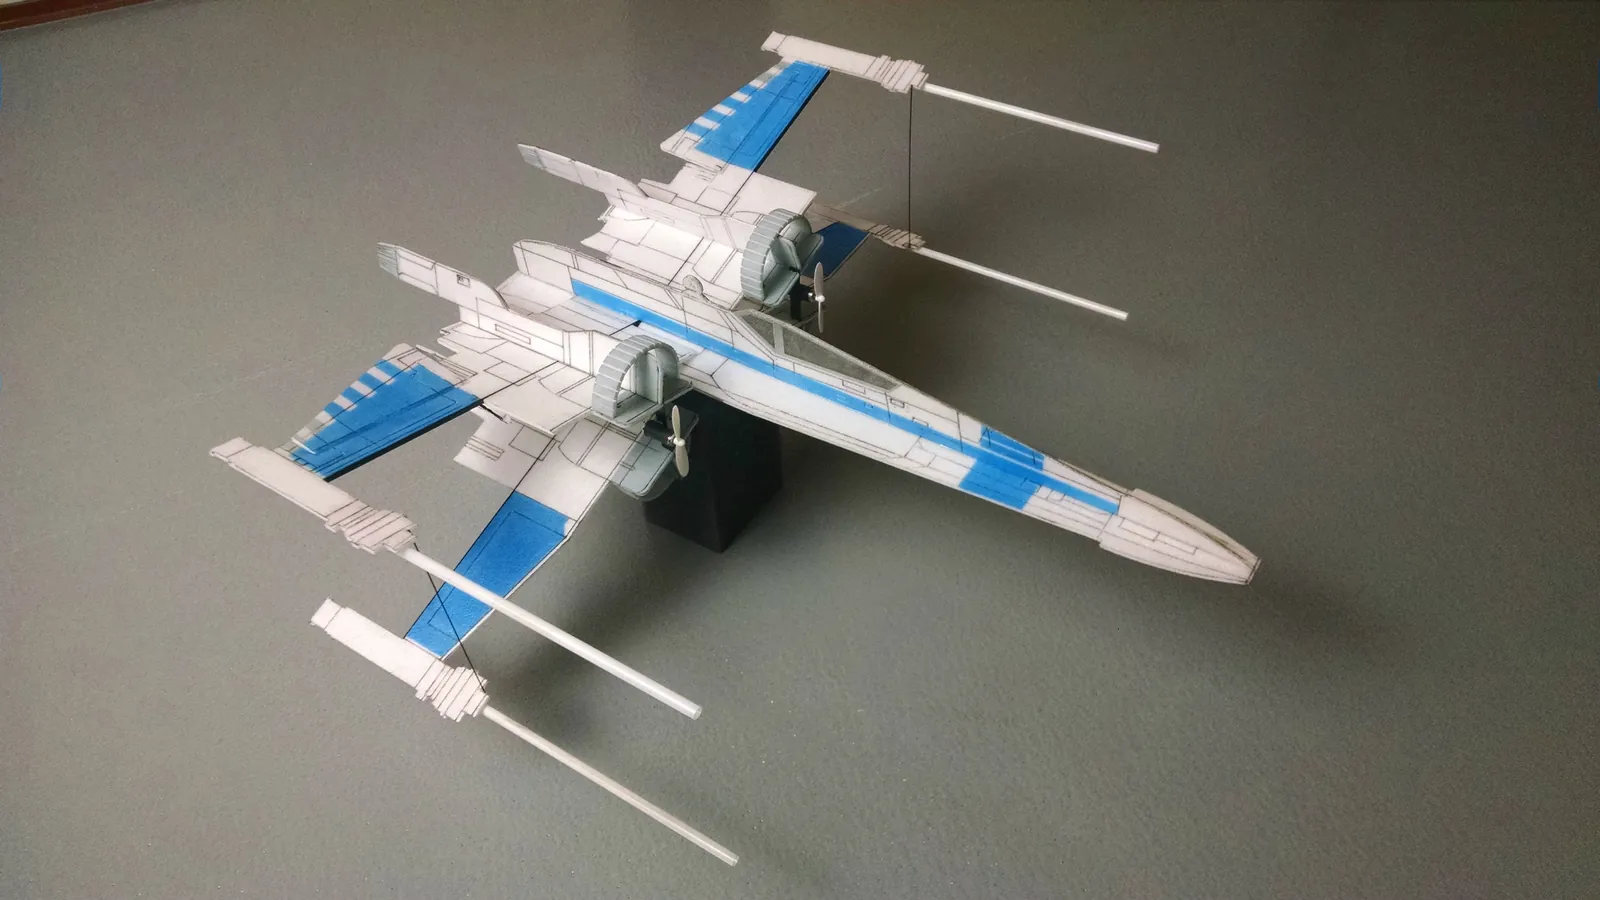
The compatibility between your drone hardware and a styrofoam frame depends on whether your motors can overcome the added drag and weight. Styrofoam is light, but it’s fragile and creates significant air resistance compared to a standard drone chassis.
Most builders make the mistake of using standard adhesive tape to mount components. This adds uneven weight that causes uncontrollable spinning during takeoff. Instead, use thin carbon fiber rods to distribute the load across the foam’s surface. If you’re using motors rated for less than 100 grams of thrust, stick to ultra-light extruded polystyrene.
Dense, high-density foam often traps heat near the electronic speed controllers. If your ESCs are buried inside the foam, cut ventilation channels at least 5mm wide to prevent thermal shutdown mid-flight.
| Situation | Answer | Why |
|---|---|---|
| Ultra-light foam | Yes | Low weight allows motors to lift frame |
| Heavy dense foam | No | Motors can’t generate enough thrust |
| High-power motors | Yes | Extra thrust compensates for air drag |
| Micro-drone parts | No | Lacks torque for larger foam surfaces |
| Balanced weight | Yes | Stability allows for controlled flight |
| Uneven weight | No | Causes uncontrollable spinning or crashing |
The physics of lift and drag
The primary factor determining if your craft will fly is the relationship between the thrust produced by your motors and the total mass of the airplane. Styrofoam is an excellent material for testing because of its low density, but it lacks the structural rigidity of balsa wood or carbon fiber.
When you mount motors onto a foam body, you must distribute the weight evenly across the center of gravity. If the weight is too far forward or backward, the flight controller will be unable to maintain level flight. Aim to balance the craft on your fingertips at the one-third mark of the wing chord; if it tips forward, shift your battery back until it sits level.
Drag also plays a major role in your success. A standard drone has small, open arms that let air pass through easily. A styrofoam plane body has a large surface area that catches the wind, which forces your motors to work harder to maintain altitude. If you increase the throttle to compensate for this drag, you’ll drain your battery much faster than you would with a standard drone.
Many builders make the mistake of using excessive hot glue to reinforce joints, which adds hidden weight and creates turbulence. Use thin carbon fiber rods instead to maintain rigidity without increasing the surface area. You should monitor your flight time closely during your first test, as many modified foam planes lose power within 3 to 5 minutes of flight.
If the weight is higher, you must reduce the size of the foam body to maintain control. When in doubt, trim the fuselage length by 10% to decrease drag before attempting a second flight.
Steps for successful integration
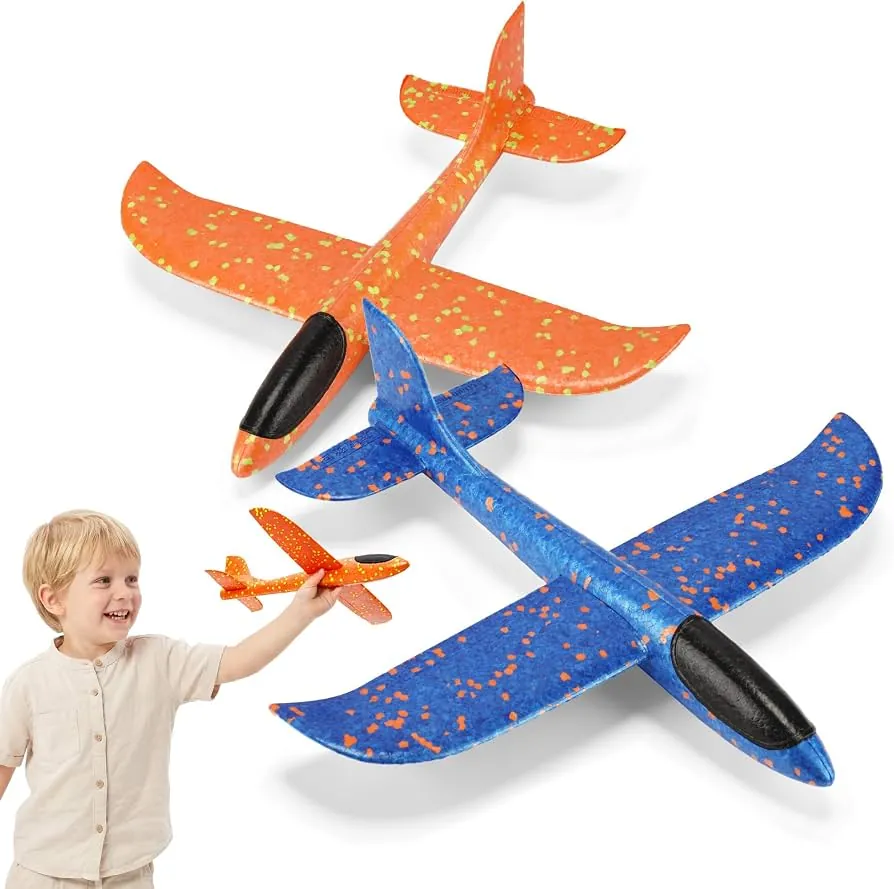
-
Weigh your styrofoam body and drone components together on a digital scale. Shed weight by trimming excess foam or using smaller gauge wiring.
-
Secure motors using high-density adhesive or mechanical mounts. If you rely on friction alone, the motor will shift under torque. This creates high-frequency vibrations that force the flight controller to overcompensate, causing the craft to oscillate uncontrollably or crash upon liftoff.
-
Position the battery and flight controller near the center of the frame. If the plane tilts aggressively during initial throttle, shift the battery toward the nose or tail until it hovers level.
-
Spin motors slowly while holding the frame to verify propeller thrust. Every propeller must push air downward. If the flight controller tilts the craft forward when you manually tilt it backward, the sensors are inverted. You must reverse the orientation in the software before attempting flight.
-
Conduct your first test on a tethered line or over deep, soft grass. If the craft fails to stabilize, cut the throttle immediately. A tether prevents the drone from drifting into obstacles during the first three seconds of flight, which is when most catastrophic integration failures occur.
Mistakes when attaching a drone to a foam plane
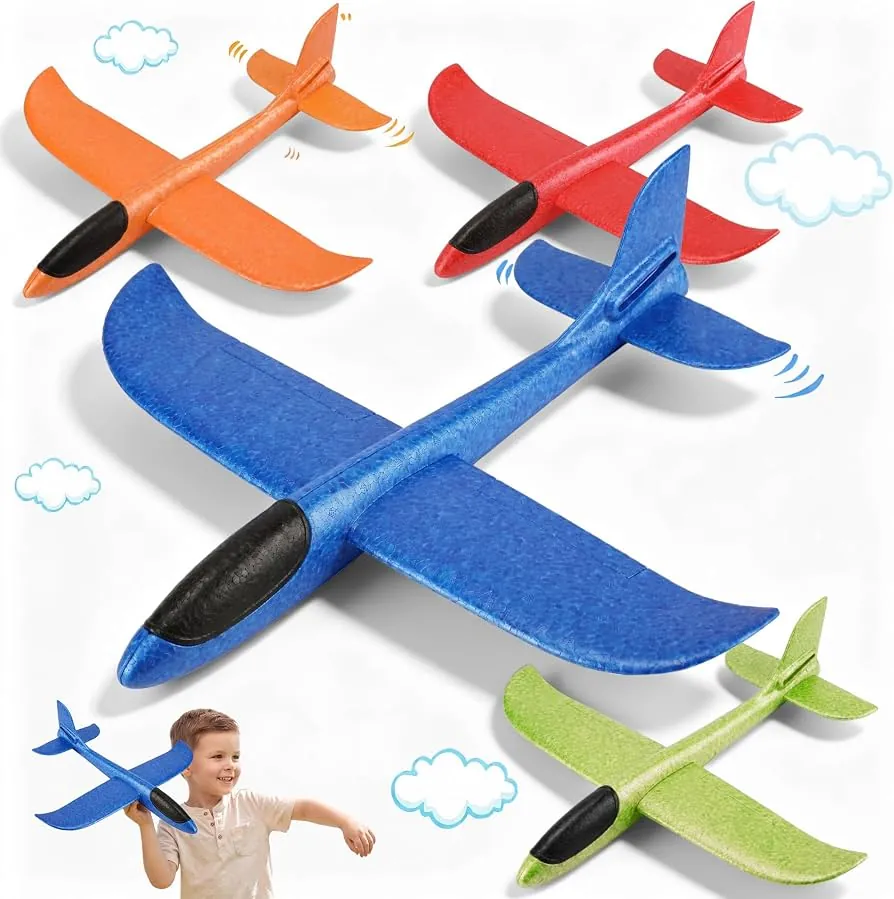
The most common mistake is failing to reinforce the motor mounting points, which leads to the motors tearing out of the foam during the first attempt at takeoff. This results in the total destruction of your drone components and the frame.
You can avoid this by embedding small pieces of plywood or plastic into the styrofoam where the screws pass through. This distributes the stress across a larger area of the foam instead of focusing all the force on a single point.
If you’re flying a craft heavier than 250 grams, you must register it with the FAA before your first flight. Many builders ignore this threshold, assuming their custom frame is exempt because it’s homemade. This oversight can lead to significant fines if you’re caught flying in public spaces.
Always check your total takeoff weight with the battery installed. If your scale reads 251 grams or more, you’re legally required to mark your drone with your registration number. If you’re under this limit, you still need to follow basic safety guidelines to avoid liability.
Test your motor mounts by applying firm pressure with your thumb before adding power. If the foam flexes or creates a visible indentation, your reinforcement is insufficient. Add a second layer of adhesive or a larger backing plate to ensure the mount remains rigid during high-torque maneuvers.
When to stop and get professional help
Modifying drones involves electrical and structural risks that can lead to fire or physical injury if you aren’t careful. You should stop your project if you notice any of these signs:
The battery becomes hot to the touch during initial testing, which indicates a dangerous short circuit or extreme motor strain. If the battery casing feels warm during operation, disconnect it immediately as this indicates a dangerous short circuit or extreme load. Don’t attempt to charge it again until you have verified your power distribution board for solder bridges.
The drone frame vibrates violently at low throttle, signaling that your mounting points aren’t rigid enough for flight. If you see visible oscillation at less than twenty percent power, stop. Running the motors further will likely strip your motor mounts or shatter the carbon fiber arms.
The flight controller fails to initialize or displays an error code, which usually requires professional diagnostic software. If the status LED remains solid red or fails to blink after a firmware flash, you have likely bricked the board.
If you lack experience with soldering or flight controller programming, seek help from a local hobbyist club. These groups have the equipment to test motor thrust and calibrate your sensors safely. If you’re unsure whether a connection is solid, pull on the wire gently. If it moves at all, it will fail in mid-air. A single loose ground wire costs you the entire airframe.
Related guides