You can build a simple rc plane using styrofoam and destroy drone components in about 6 to 10 hours of work, depending on your experience with soldering and foam cutting. This project is a medium-difficulty task that requires basic knowledge of electronics and aerodynamics. You’ll need a clean workspace, a sharp hobby knife, and a steady hand to ensure the foam airframe remains balanced for stable flight.
Essential tools and materials
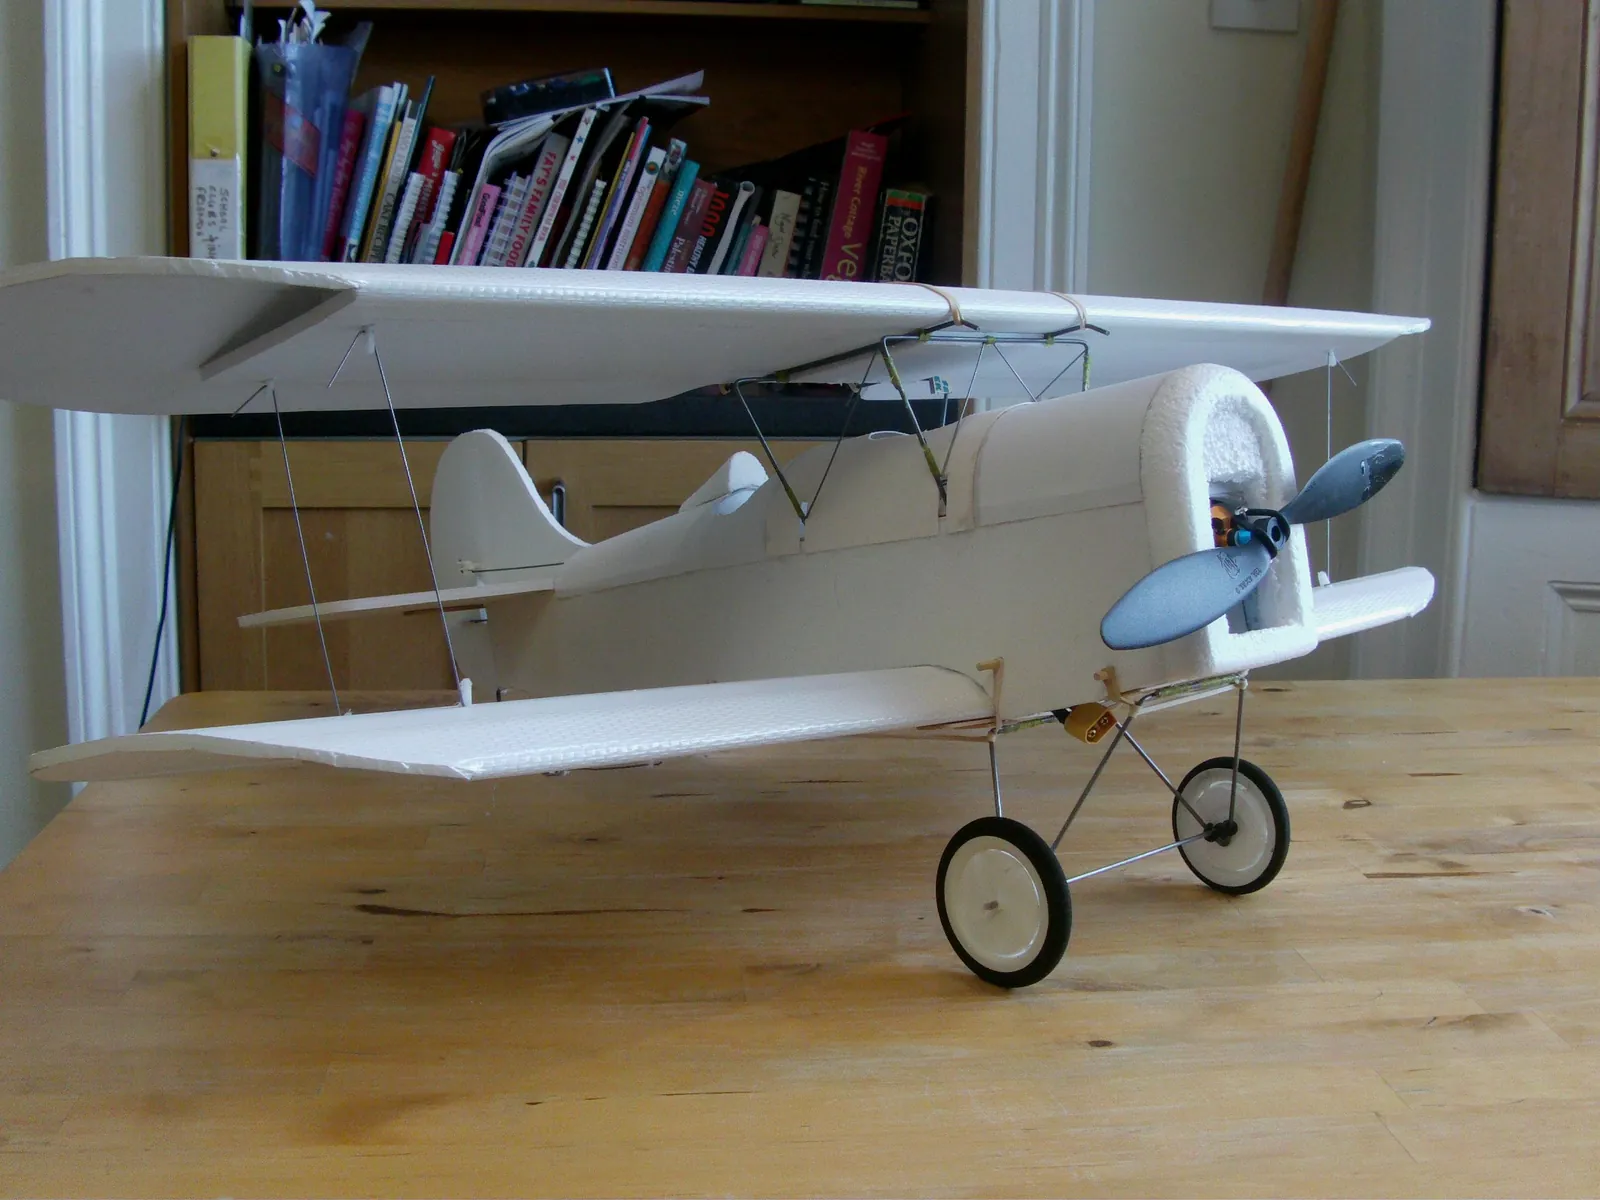
Gathering the right supplies before you start prevents unnecessary trips to the store. Most of these items are available at hobby shops or online retailers specializing in model aircraft.
| Item | How much | Why it’s needed | A substitute |
|---|---|---|---|
| Styrofoam sheets | 2 pieces | Creates the wings and body | Depron foam |
| Drone motors | 4 units | Provides thrust for flight | Brushless motors |
| Flight controller | 1 board | Manages stability and control | none — don’t swap |
| Lithium battery | 1 pack | Powers the electronics | none — don’t swap |
| Hobby knife | 1 tool | Cuts foam precisely | Box cutter |
| Hot glue gun | 1 tool | Joins foam parts | Foam-safe glue |
Preparation before assembly
- Clear a flat, stable table where you can lay out your foam sheets without them bending or breaking.
- Disconnect the battery from your drone parts to prevent accidental motor activation during the assembly process.
- Cover your workspace with newspaper or a silicone mat to protect the surface from hot glue drips.
- Check your local aviation authority’s guidelines regarding weight limits for model aircraft to ensure you stay within legal flight parameters, as Federal Aviation Administration drone rules define the boundaries for safe recreational operation.
- Avoid using standard super glue on styrofoam, as the chemicals will melt the material and ruin your airframe.
Steps to build a styrofoam plane
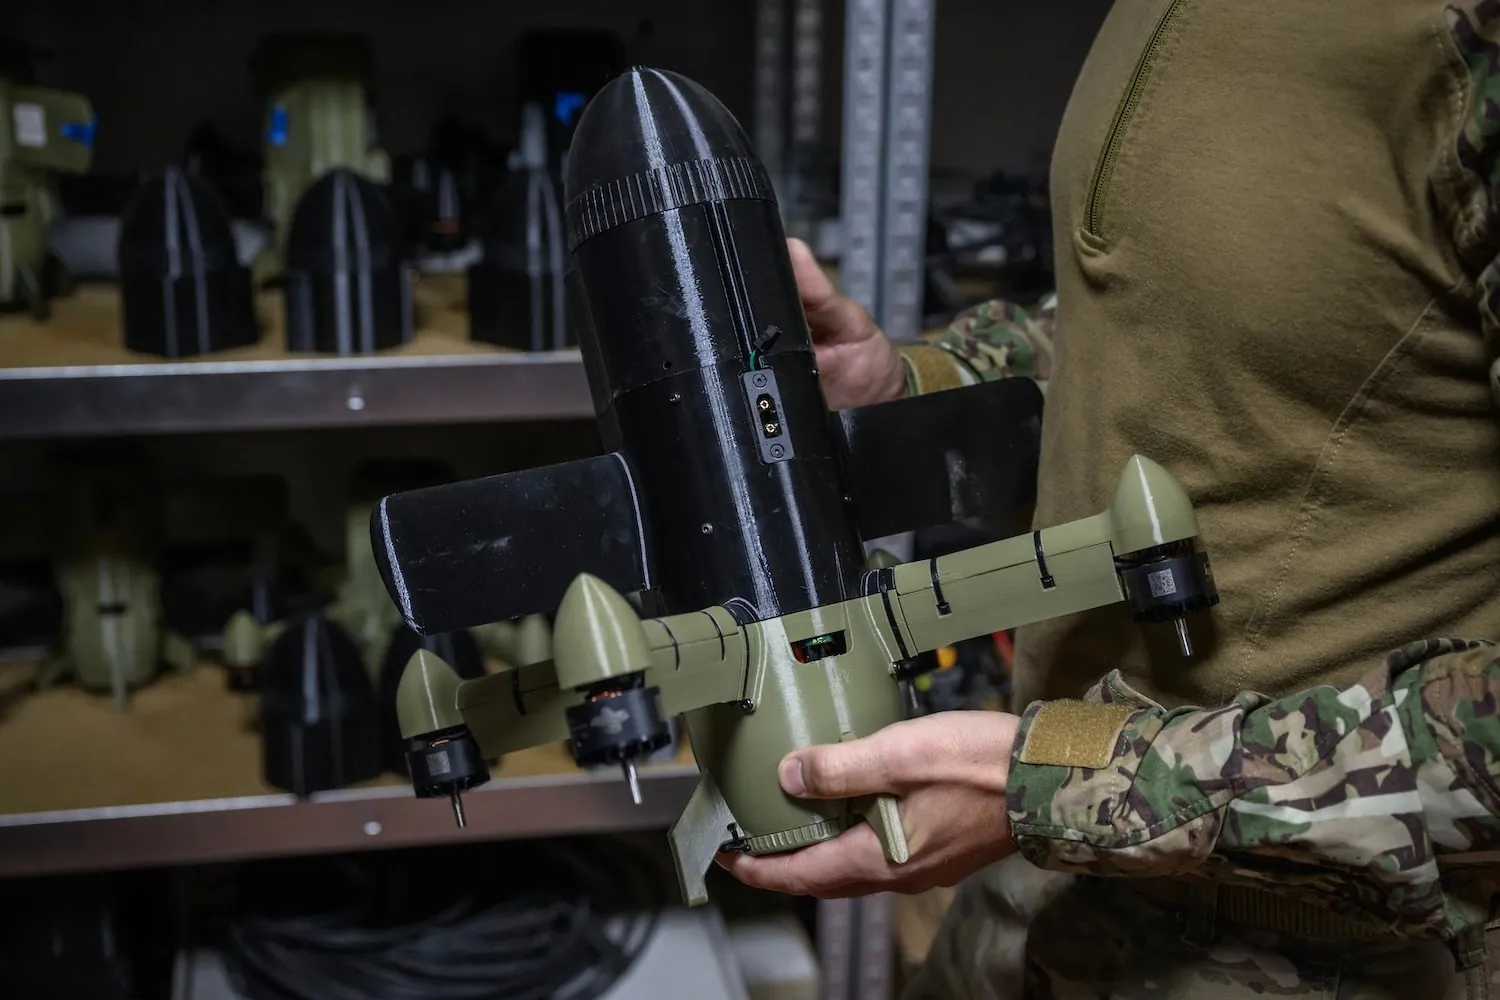
- Trace your wing and fuselage templates onto the styrofoam sheets using a pencil, ensuring the lines are straight and symmetrical to allow for balanced flight.
- Cut out the foam pieces slowly with your hobby knife, keeping the blade vertical to ensure clean edges that fit together tightly without gaps.
- Sand the leading edges of the wings until they’re smooth and rounded, which helps the air flow properly over the surface during flight.
- Glue the fuselage sections together using a thin bead of hot glue, holding the pieces in place for 30 seconds until the bond is set.
- Attach the drone motors to the wing mounts using the original screws, ensuring they’re mounted parallel to the fuselage to provide forward thrust.
- Mount the flight controller in the center of the fuselage, securing it with double-sided foam tape to absorb vibrations that could interfere with the sensors.
- Connect the motor wires to the electronic speed controller, matching the colors to ensure the propellers spin in the correct direction for forward thrust.
- Install the battery compartment near the center of gravity, allowing it to slide forward or backward to fine-tune the balance of your finished plane.
- Secure the control surfaces, such as the ailerons, using flexible plastic hinges, ensuring they move freely without binding against the main wing structure.
- Test all electronics by powering on the transmitter and verifying that the motors respond to stick inputs before you attach the propellers to the shafts.
Confirming your build works
A successful build shows steady responses from all motors when you move the transmitter sticks. If the motors twitch or fail to spin, check your wiring connections for loose joints or reversed polarity. The plane should feel balanced when you hold it by the wing tips; if one side drops, add a small piece of lead tape to the lighter wing until it sits level.
If the plane vibrates excessively during a ground test, you likely have a loose mount or an unbalanced propeller. Never attempt to fly a plane that shows signs of structural weakness or erratic electronic behavior.
Troubleshooting common issues
| What happened | Why | What to do |
|---|---|---|
| Motor won’t spin | Loose wire | Re-solder the connection |
| Plane feels heavy | Too much glue | Scrape off excess |
| Unstable flight | Bad balance | Adjust battery position |
| No signal | Low battery | Charge the pack |
| Foam is brittle | Age of material | Use new foam |
If your motor hums but fails to turn, check for a cold solder joint. A dull, gray connection often hides a loose wire that can’t carry current. Simply reheat the contact point until the solder flows smoothly.
When the plane dips during flight, shift your battery toward the nose in five-millimeter increments. A tail-heavy craft stalls easily, while a nose-heavy one requires constant up-elevator. Balance the center of gravity exactly at the wing spar.
Many pilots mistake brittle foam for a simple lack of structural integrity. If your material snaps under light pressure, it has likely suffered UV degradation. Replace the airframe immediately to avoid a mid-air structural failure. Never attempt to reinforce old, yellowed foam with tape, as this only adds weight without restoring the original strength.
Maintenance and flight intervals
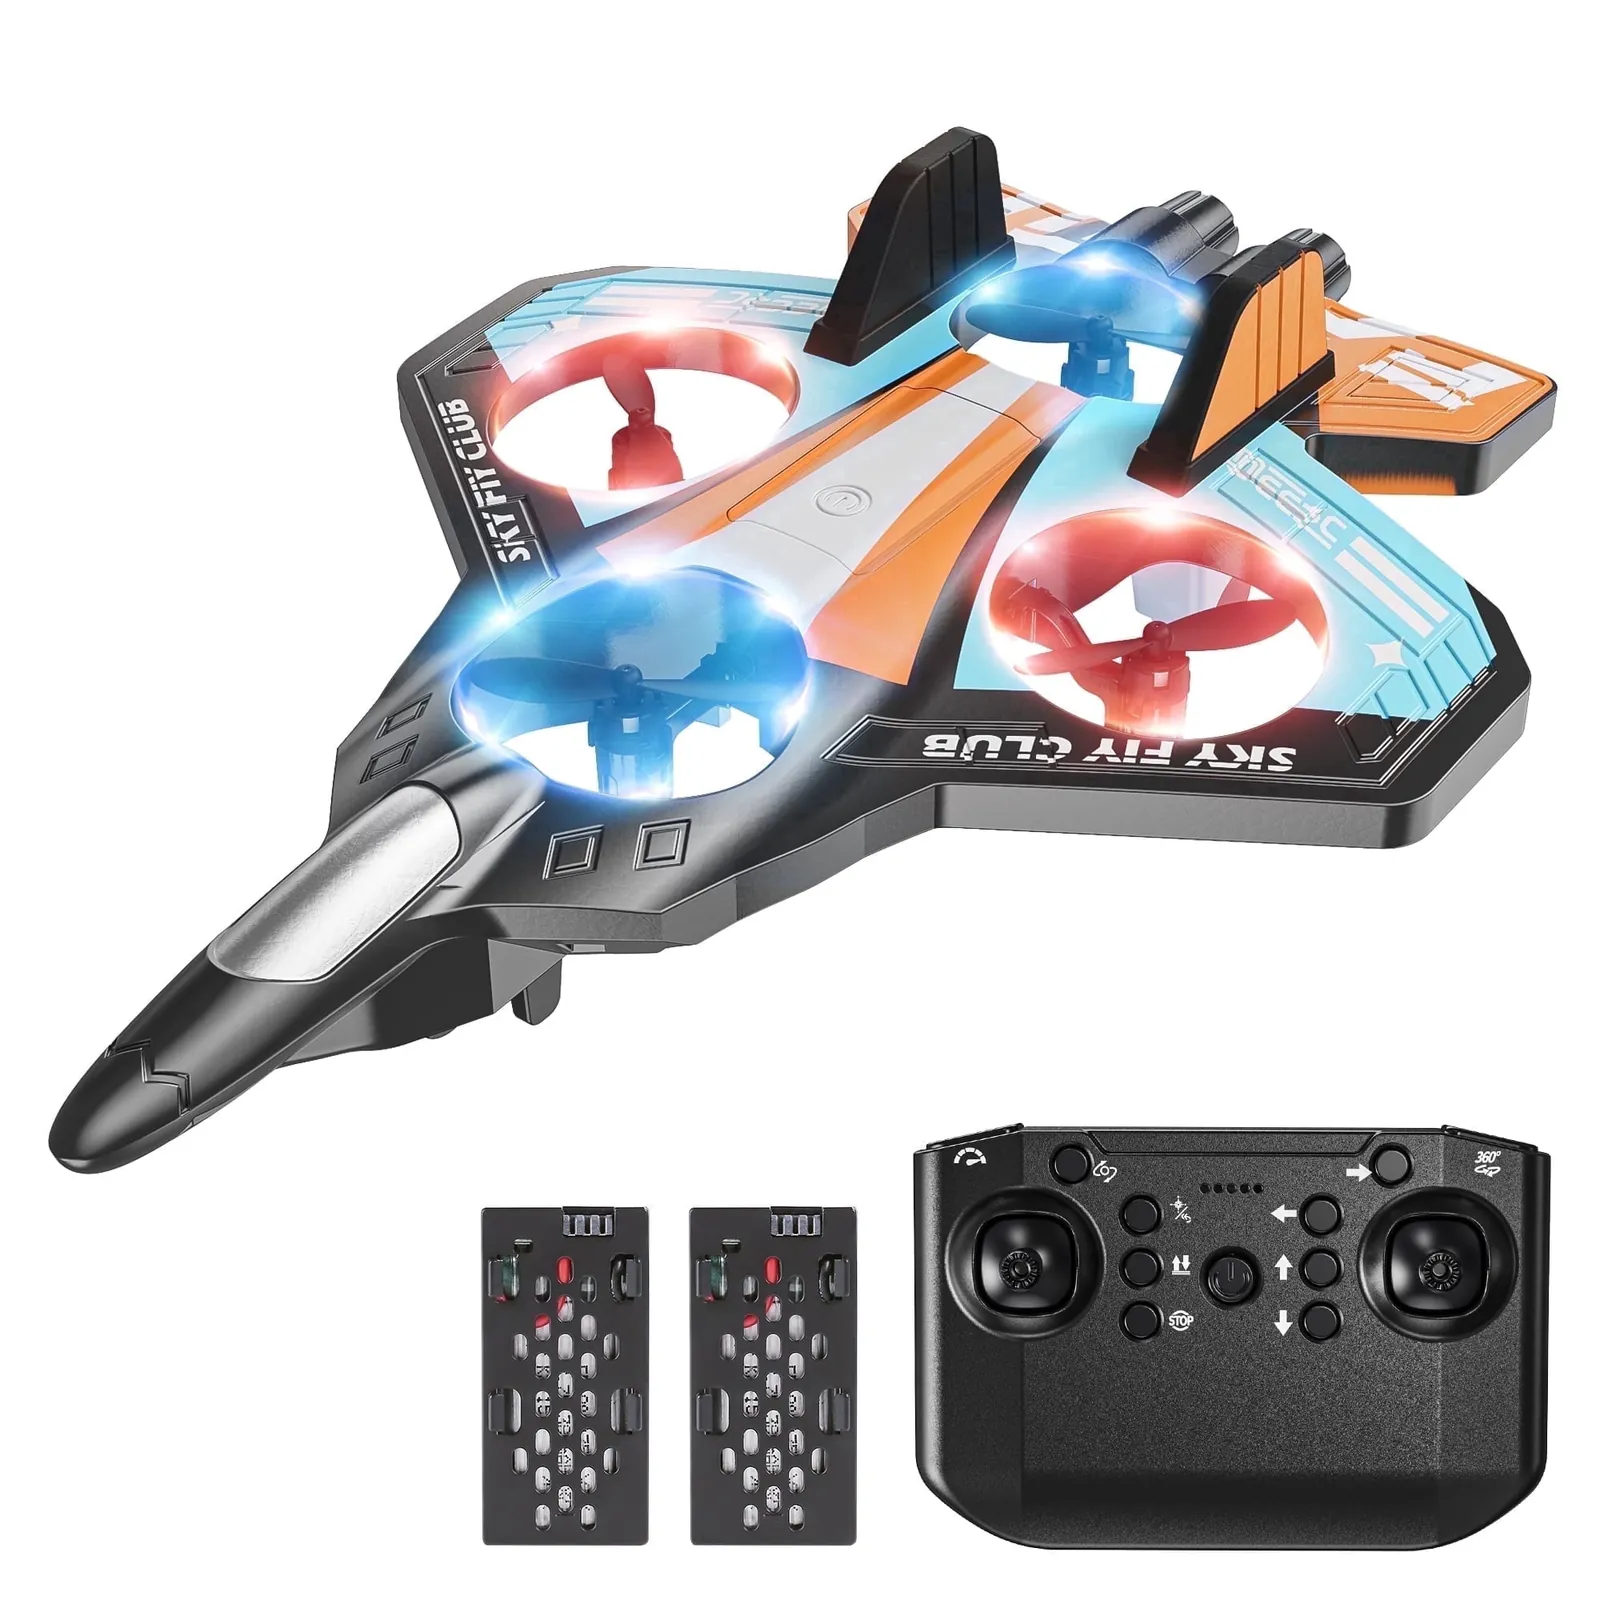
You should inspect the structural integrity of your plane after every 3 to 5 flights. Frequent landings on hard surfaces can cause microscopic cracks in the styrofoam that weaken the wings over time.
The two main factors that change this interval are the quality of your landing surface and the intensity of your flight maneuvers. If you fly over tall grass, you can check the frame less often; if you land on asphalt, perform a visual inspection of all glue joints before every single flight session.
Frequently asked questions
How long does it take to charge the battery?
Charging typically takes 45 to 60 minutes using a standard balance charger, assuming you’re using a 3-cell lithium polymer battery. Never leave the battery unattended while it’s charging, as lithium cells require careful monitoring to prevent overheating during the power intake process.
Is it safe to fly in windy weather?
It’s generally unsafe to fly a lightweight styrofoam plane in winds exceeding 5 miles per hour, as the low wing loading makes the craft difficult to control. You should wait for a calm day to ensure your first test flights remain stable and predictable.
What happens if the plane crashes?
The foam airframe will likely sustain dents or tears, which you can often repair with thin layers of epoxy or packing tape. If the internal electronics are damaged, you must inspect the circuit boards for visible cracks before attempting to power the system again.
Does it matter which glue I use?
It matters a lot because standard adhesives contain solvents that dissolve styrofoam on contact, leading to structural collapse. You must use a foam-safe adhesive or low-temperature hot glue to ensure the airframe remains rigid and airworthy during flight.
How far can the plane fly?
The flight distance is limited by the range of your transmitter, which is typically 300 to 500 meters for standard hobby-grade equipment. You should always keep the aircraft within your line of sight to maintain control and avoid potential collisions with obstacles or people.
Can I use a larger battery?
You can use a larger battery only if your motors provide enough thrust to compensate for the added weight, which usually requires a 10% to 20% increase in power. Adding too much weight will significantly reduce your flight time and make the plane sluggish during takeoff and landing.
Conclusion
You can learn about aerodynamics and remote control systems by building an rc plane from recycled drone parts.