You operate a device with a motorized gimbal by balancing the aircraft or handheld unit, connecting the drone to the controller, and using the flight app to adjust your focus and exposure settings. Mastering the operation of a dji camera is a matter of stabilizing the hardware before you power it on, then navigating the digital interface to select your resolution, frame rate, and color profile for the specific light conditions you face.
Getting your camera ready to work
The following table lists the core components you must inspect before every session to ensure your footage stays smooth and clear.
| Part or input | What it does | What you notice when it goes wrong |
|---|---|---|
| Gimbal lock | Holds the camera steady | The gimbal motor vibrates or fails |
| MicroSD card | Stores your video files | “SD Card Error” or recording stops |
| Battery level | Powers the camera/drone | Sudden power loss mid-flight |
| Lens filter | Manages incoming light | Harsh glare or overexposed footage |
| Firmware | Controls system logic | Menus freeze or features disappear |
Always remove the plastic gimbal guard before powering on the unit. If you leave it attached, the motors will strain against the physical restraint, potentially burning out the delicate internal ribbons.
Format your MicroSD card inside the drone’s menu rather than on a computer. This ensures the file structure matches the specific write speeds required for high-bitrate 4K recording. If you see dropped frames, your card likely lacks a V30 or higher speed rating.
Check your battery cells individually in the app. If the difference between cells is significant, the battery is aging and may fail under heavy load. Replace it immediately to avoid a mid-air drop.
Finally, update firmware only when you have at least 50% battery life. A power interruption during an update can brick the internal flight controller, rendering the device unusable.
Steps to capture professional footage
- Remove the gimbal cover to allow the motors to move freely during the startup self-test, which takes about 5 seconds. If the cover stays on, the motors may overheat or fail.
- Insert a high-speed microSD card, specifically a V30 or higher, into the slot to ensure the write speed keeps up with 4K video data rates.
- Power on the remote controller first, then the aircraft, and wait 30 seconds for the internal GPS to lock onto at least 10 satellites for stable hovering.
- Open the DJI Fly app and tap the camera icon to see the live feed, then adjust your ISO and shutter speed based on the current lighting.
- Set your white balance manually to avoid color shifts if you move from shadows into direct sunlight, as “Auto” mode often fluctuates during a single shot.
- Press the record button once to start, and always wait 3 seconds after landing before you power down the aircraft to finish writing the file.
Why proper setup prevents common camera failures
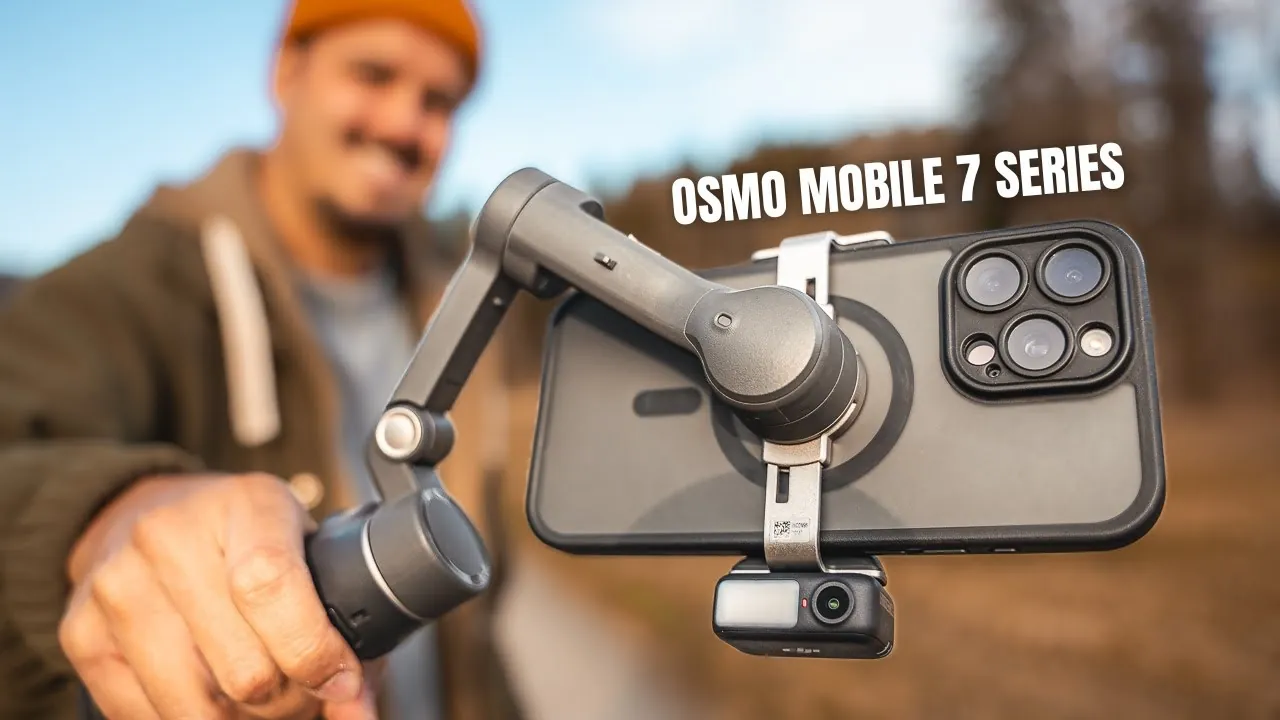
The connection between your hardware and software dictates the quality of your final output. A frequent mistake involves powering on the aircraft while the gimbal is still physically locked or resting on an uneven surface. This forces the sensors to calibrate against an incorrect “level” point, causing your horizon line to tilt during flight. Fixing a crooked horizon in post-production costs you resolution because you have to crop the image, which effectively reduces your 4K footage to a lower quality.
Another critical failure point is the storage write speed. If you use an older or slow SD card, the camera buffer fills up because it can’t move data to the card fast enough. The result is dropped frames or a recording that stops abruptly without warning. You should always format the card inside the DJI app before a major shoot to clear out corrupted sectors.
Finally, light management determines your shutter speed settings. If you fly in bright midday sun, you must use a Neutral Density (ND) filter to darken the image. Without it, you’re forced to use a very fast shutter speed to prevent overexposure, which makes motion look “choppy.” Using the right filter allows you to keep your shutter speed at double your frame rate for natural motion blur.
Control and design limits
Things you control
- White balance settings for consistent color.
- Shutter speed to match your frame rate.
- Gimbal pitch speed for smooth camera movement.
- Storage formatting before every long session.
Things fixed by design
- The sensor size and physical lens aperture.
- The maximum flight time per battery charge.
- The internal cooling fan noise level.
If you attempt to modify the internal software or bypass altitude limits, you risk voiding your manufacturer warranty and may violate local aviation regulations. If you need advanced flight training or professional certification, consult your local civil aviation authority for licensed courses.
Habits for better camera performance
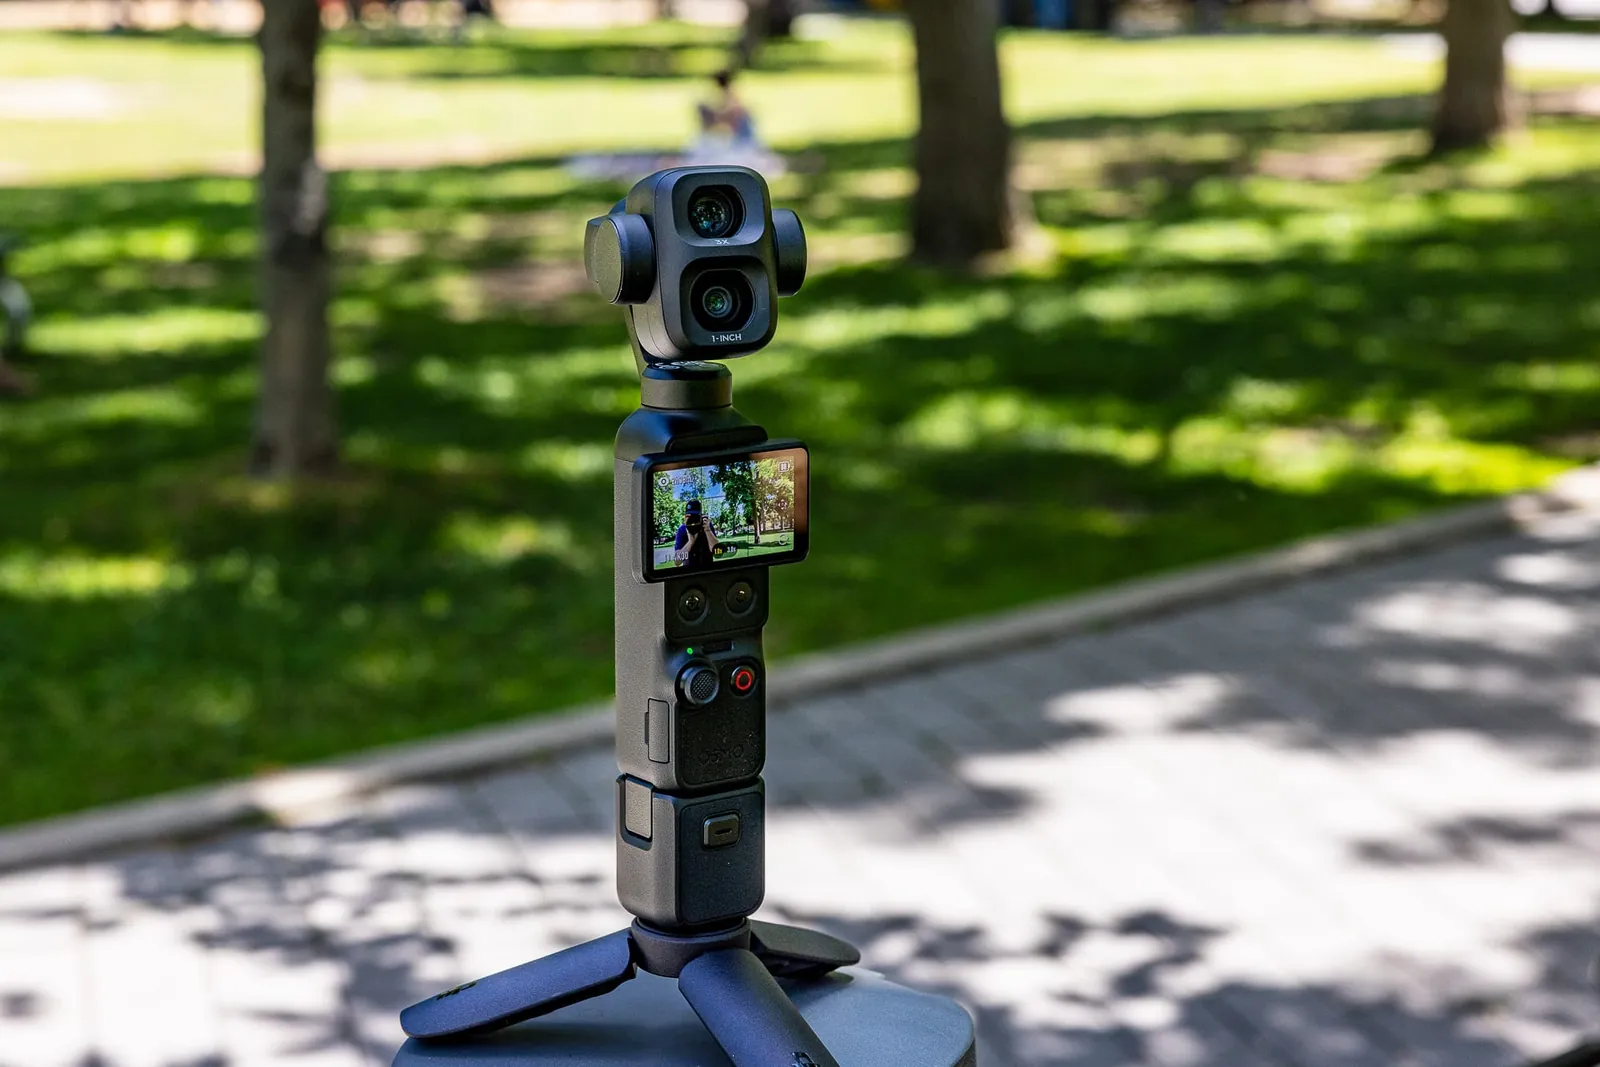
You should always calibrate your compass if you travel more than 50 miles from your last flight location. This ensures the drone knows its orientation, which prevents “toilet bowling” where the aircraft drifts in circles instead of holding a steady position. If your drone begins to yaw unexpectedly while hovering, land immediately and recalibrate on a non-metallic surface away from concrete rebar.
Clean your lens with a microfiber cloth before every flight to remove fingerprints or dust. A tiny smudge on the glass will catch the sun and create a large, hazy flare that ruins your shot. Never use your shirt or a paper towel, as these materials contain abrasive fibers that create micro-scratches on the lens coating over time.
Check your firmware version every month via the DJI app. Manufacturers often release updates that improve how the gimbal motor reacts to wind, which directly impacts the stability of your video. If you see an update pending, wait until you’re in a stable Wi-Fi zone to avoid a partial installation, which can brick your flight controller.
If you shoot in D-Log or a “flat” color profile, remember that your footage will look grey and dull on your phone screen. You must color-grade these files in editing software later to restore the contrast and saturation. Apply a standard Rec.709 conversion LUT as your first node to see the intended dynamic range before you begin manual adjustments.
Related guides
- How to Use Dji Camera: Master Pro Tips for Stunning Shots
- Dji Osmo 360 Waterproof: Ultimate Adventure Camera Review 2025
Frequently asked questions
How long does a dji camera battery last?
A single battery typically lasts 25 to 35 minutes depending on wind conditions and flight speed. You can check the exact remaining percentage in the top corner of your flight app screen, which updates in real-time as the aircraft uses power to fight against wind resistance.
Is it safe to fly in the rain?
It isn’t safe to fly in the rain because moisture can enter the gimbal motors or the internal electronics. DJI drones are generally not waterproof, and any water contact risks a short circuit that can cause the aircraft to fall from the sky immediately.
Why is my video shaky?
Your video is shaky because the gimbal is either damaged, the gimbal cover was left on, or you’re flying in wind speeds that exceed the drone’s stabilization limit. Check your model’s manual for the maximum wind resistance rating, as smaller drones struggle more in high gusts than larger units.
How do I fix a tilted horizon?
You fix a tilted horizon by performing a gimbal calibration on a perfectly flat surface through the app settings menu. If the horizon remains tilted after calibration, the gimbal arm may be physically bent, which requires professional repair from the manufacturer or a certified service center.
Does it matter which SD card I use?
It matters because the camera requires a minimum write speed, usually V30, to handle the high data rates of 4K recording. If the card is too slow, the recording will stop automatically or the video file will become corrupted, leading to lost footage that you can’t recover.
What happens if I lose the signal?
The drone automatically enters “Return to Home” mode if the signal is lost for more than 3 seconds. It will climb to a pre-set altitude and fly back to the last recorded takeoff point using its internal GPS, provided you have set the return altitude correctly before takeoff.
Conclusion
Once you’ve captured your footage, take a moment to review the clips on a larger screen to check for sharpness. Don’t worry if your first few attempts aren’t perfect; you’ll get better with every flight. Practice makes a huge difference, so head outside this weekend and start experimenting with different creative angles.